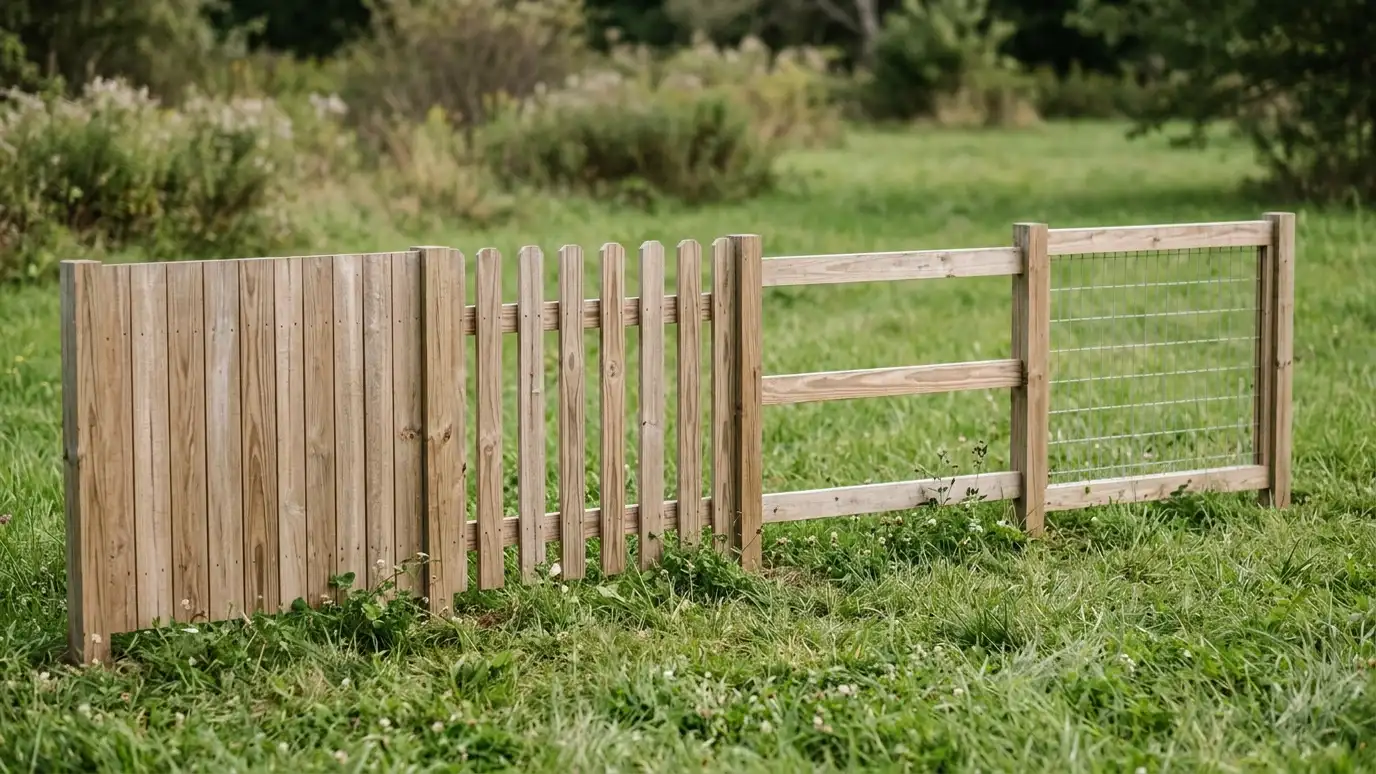
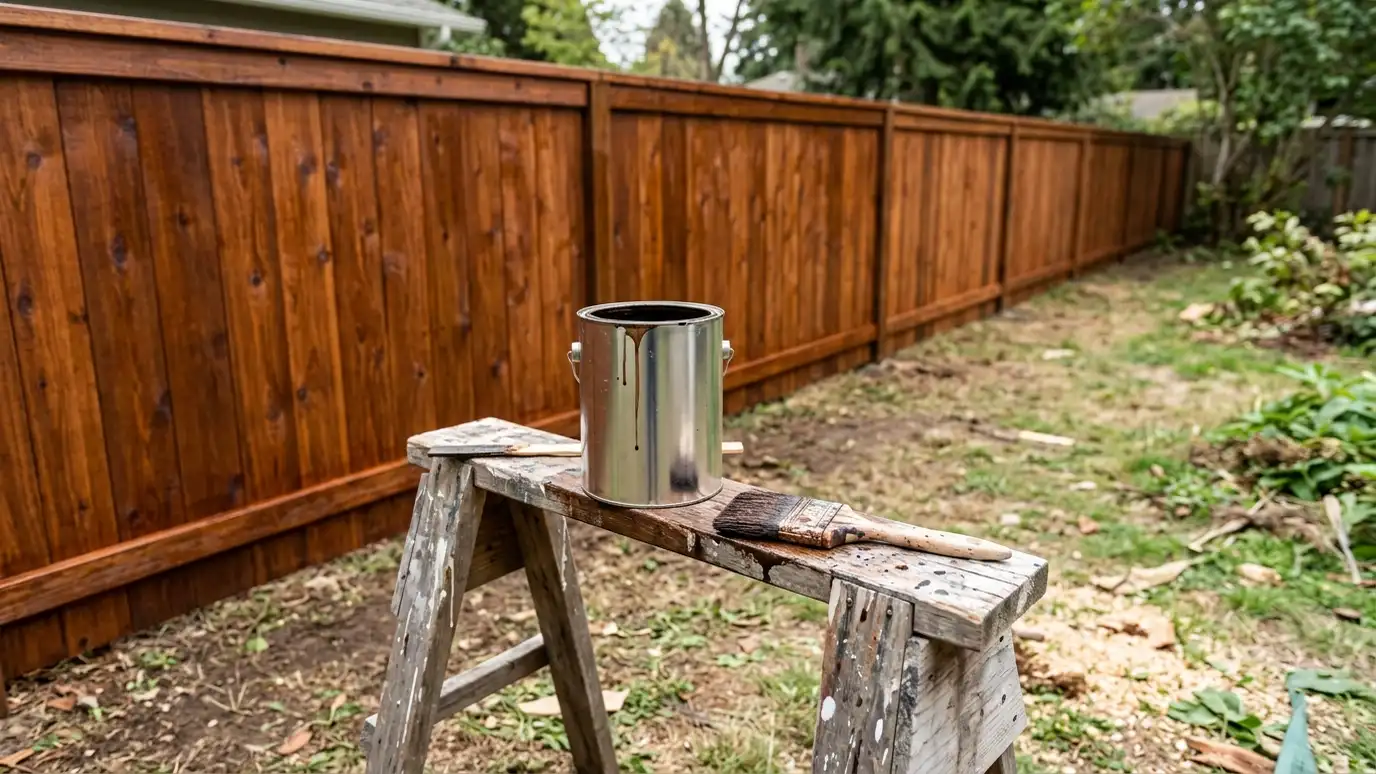
Why finish a fence
A finish slows moisture and sun damage and evens out color.
It makes cleaning easier and extends the life of the wood.
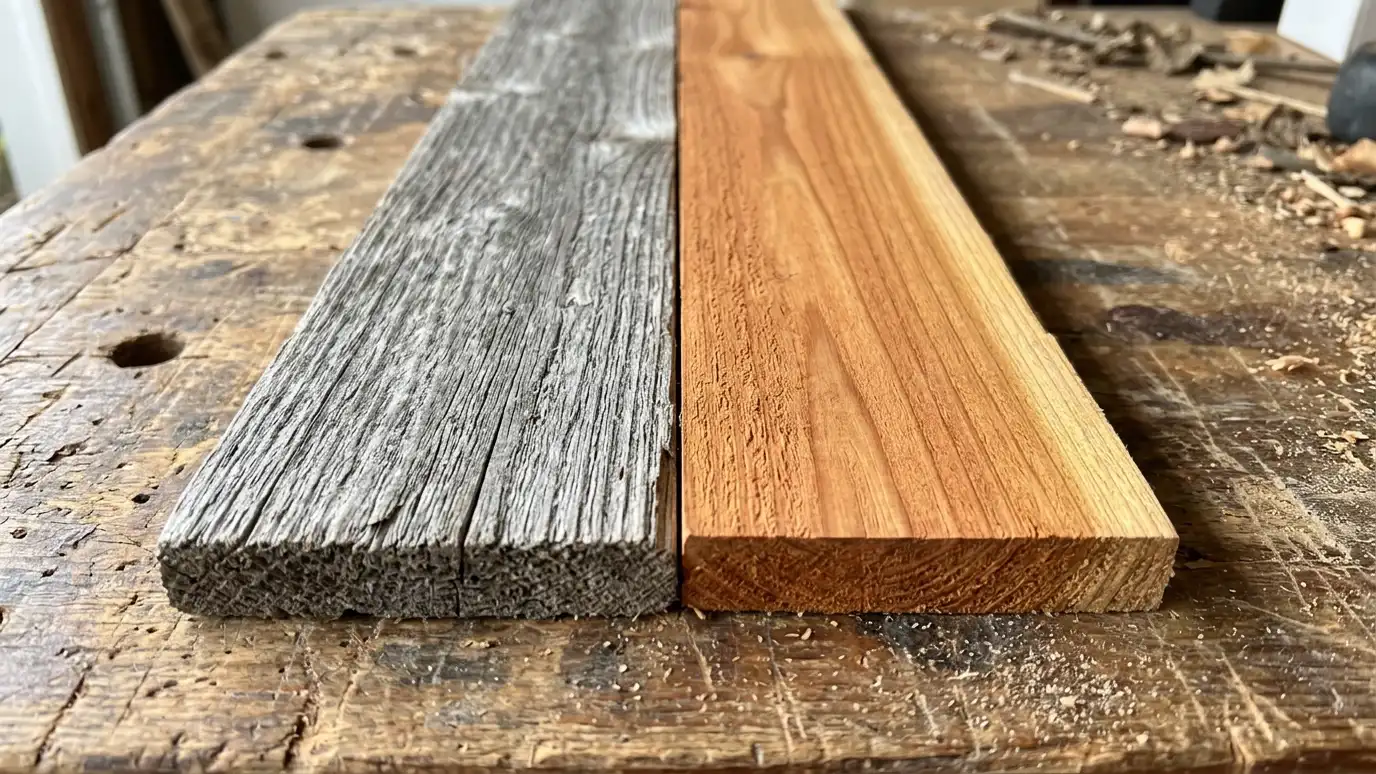
Unfinished wood weathers quickly.
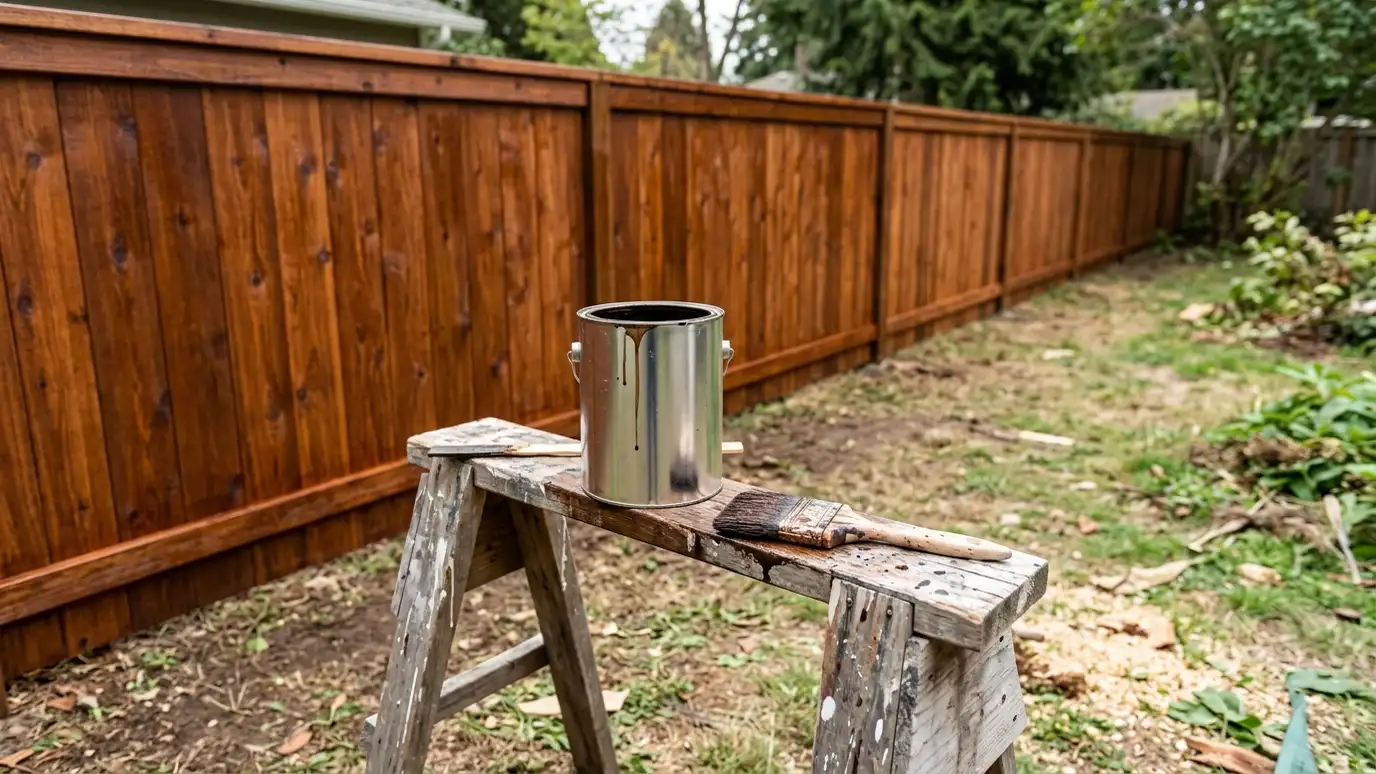
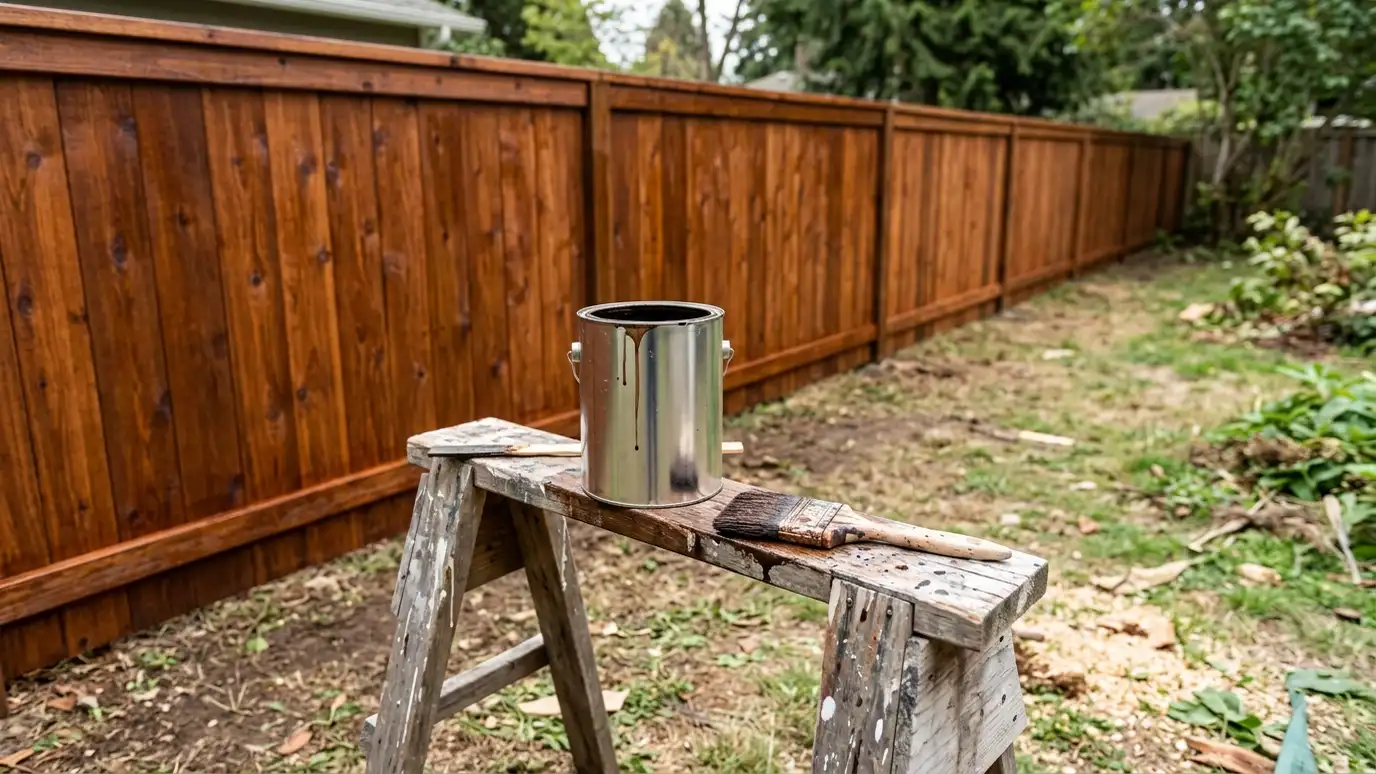
Test the finish on a hidden board before you commit. Wood absorbs stain differently from board to board, and a test patch shows what the color will look like in your light.
Timing
New treated lumber needs time to dry, and kiln-dried or cedar boards can be finished sooner.
Do not stain wet wood, and avoid rain, extreme heat and frost.
We advise on timing for your fence.
Check the forecast before you schedule. Finishing needs dry weather for a day or two before and after, and moderate temperatures. We reschedule if the weather will hurt the result.
Finish types
Clear sealers repel water and show natural color. Semi-transparent stains add color and UV protection. Solid stains cover grain and last longest.
Each needs a different re-coat schedule.
We show samples.
Ask about the product and how many coats are planned. Some stains work in one coat, and others need two. Knowing what to expect helps you compare quotes and plan upkeep.
Preparation
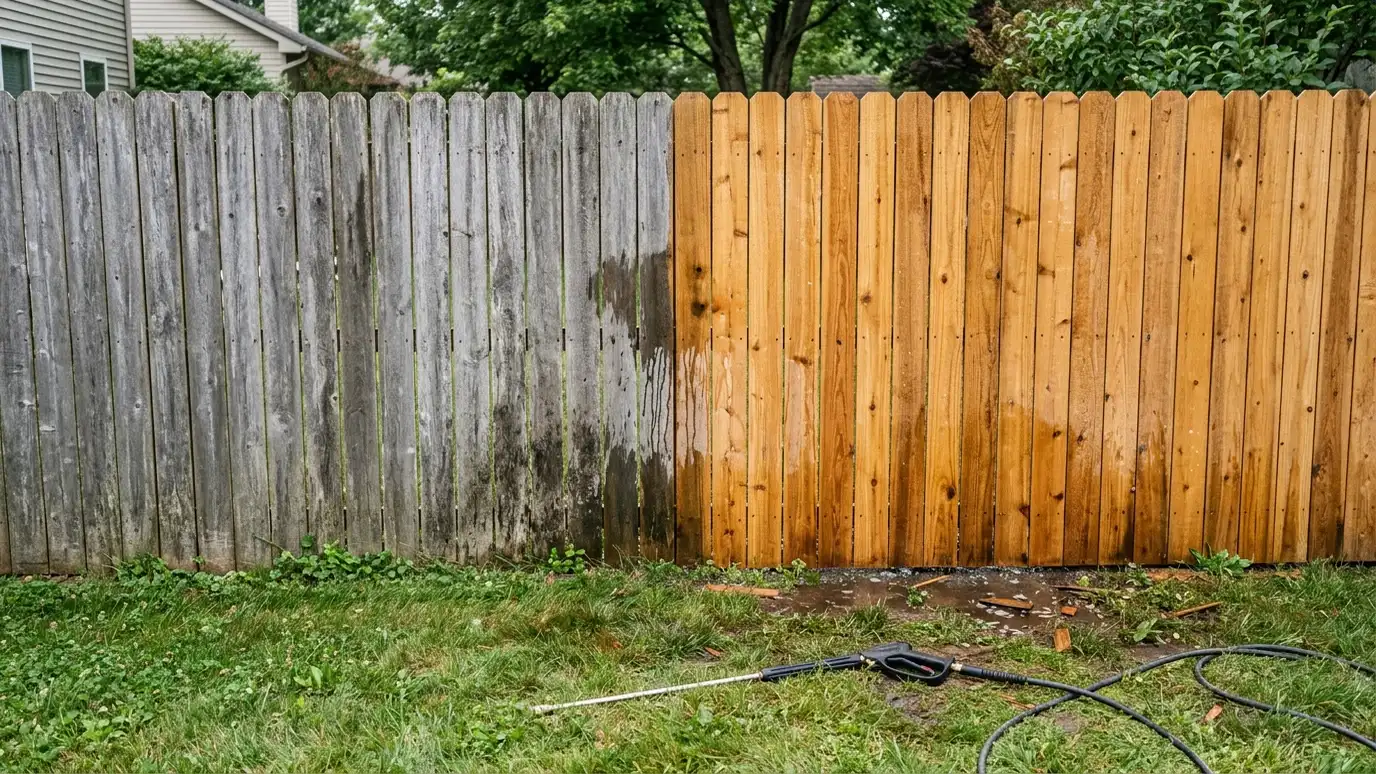
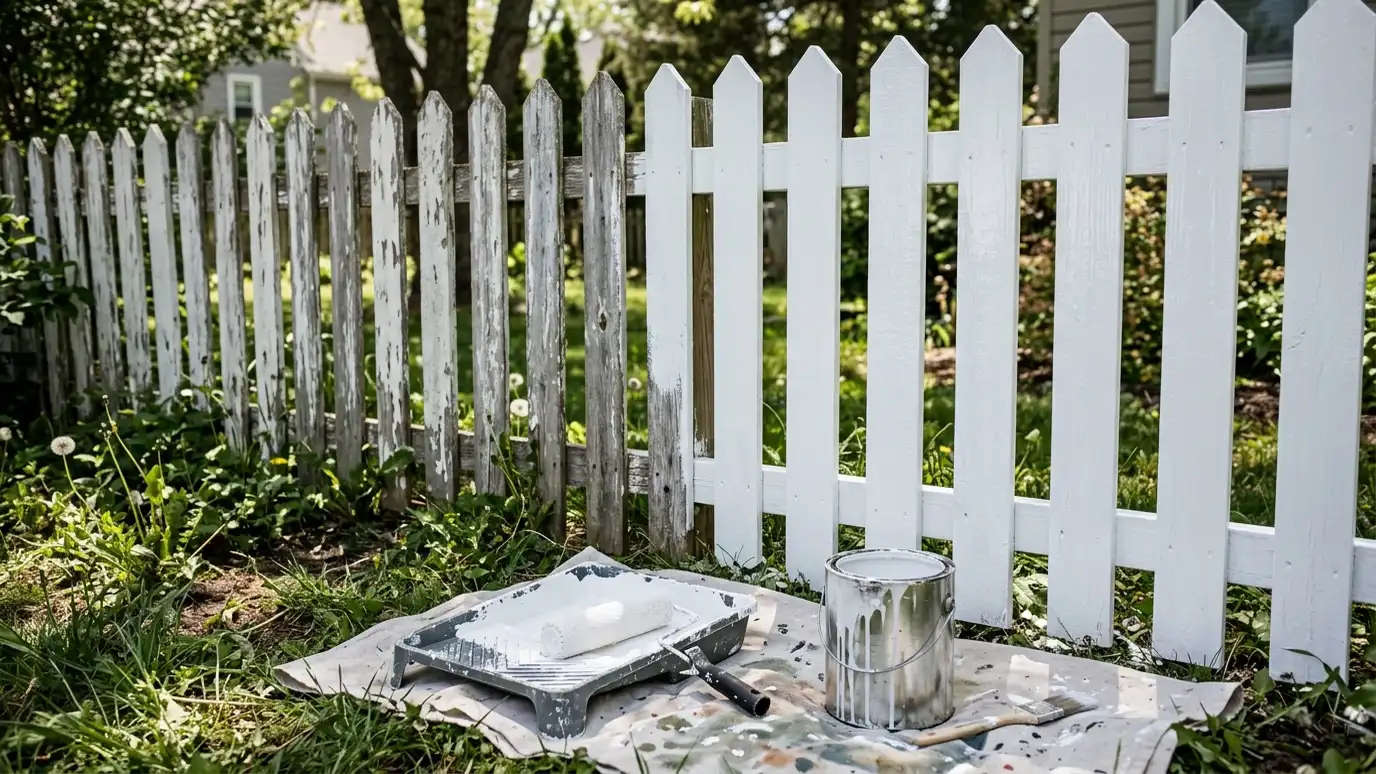
Clean the fence, remove mildew and old failing finish and let it dry.
Repair loose boards and set popped fasteners.
Prep decides how well the finish bonds.
If your fence has old stain or paint, ask how it will be handled. Peeling finishes must come off for the new coat to bond, and sound finishes may be cleaned and re-coated. The right answer depends on what is there.
Application
Spraying and back-brushing push finish into the grain and cover edges.
Protect plants, lawn and nearby surfaces.
Coat all sides where possible.
Cover plants, hardscape and nearby surfaces before spraying. Overspray travels, and a little protection saves a lot of cleanup. We handle this on every job.
Care
Wash the fence yearly and watch for fading or water that no longer beads.
Re-coat when needed.
Keep notes on product and color.
Mark your calendar for the next wash and re-coat. A simple reminder keeps the fence in good shape and avoids a bigger project later. Keep a small sample of the stain for touch-ups.
Let wood dry, clean it, choose a finish that fits your upkeep and apply it evenly on all sides.